How to convert PNG to WebP on Mac and keep transparency
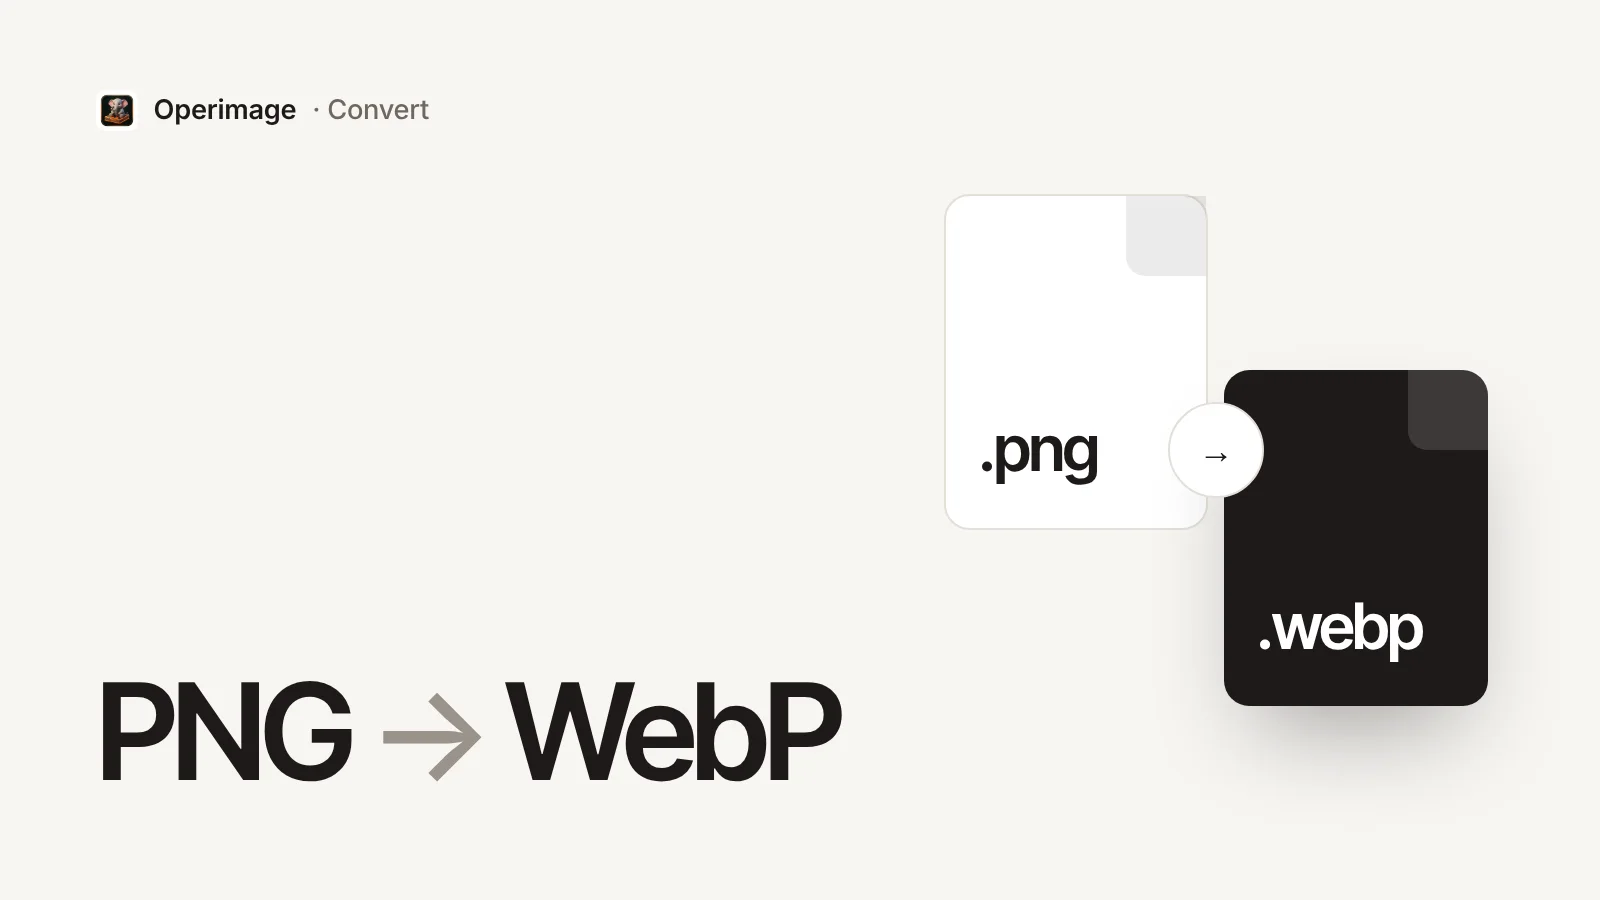
To convert PNG to WebP on a Mac while keeping a transparent background, use a converter with a WebP encoder; Preview, Finder Quick Actions and sips can read WebP but cannot save it. WebP supports an alpha channel just like PNG, so transparent areas stay transparent and the subject does not get a white box behind it.
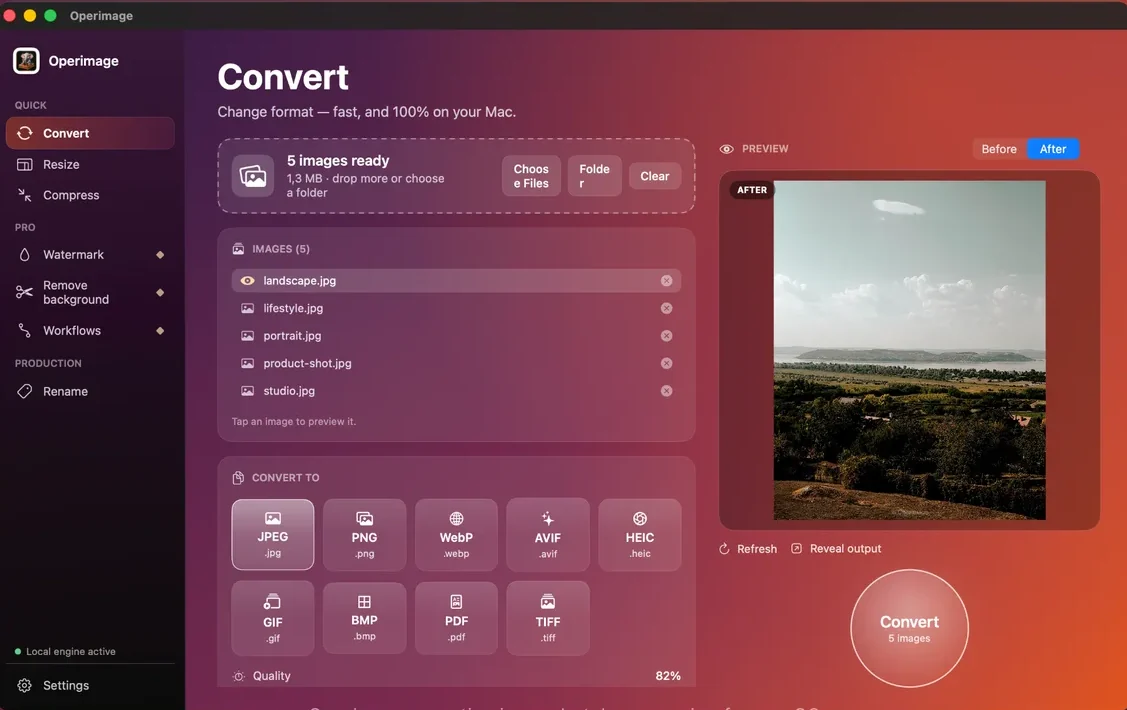
In Operimage, a free Mac app, choose Convert, drop the PNG folder, pick WebP, set quality to 85–90% for cutouts and logos, check one tricky edge in the Before/After preview, then click Convert. Processing happens on your Mac and the PNG originals stay untouched. For the bigger picture, including the reverse direction and when WebP is the wrong choice, see the WebP hub for Mac users.
- 1PNG cutouts60 product images on transparency
- 2Convert to WebPQuality 88%, alpha kept
- 3Edge checkDark and light backgrounds
- 4WebP outputSame names, transparent
Why PNG files are so large, and how much WebP saves
PNG is lossless: it stores every pixel exactly. That is ideal for editing and for flat graphics, but for anything photographic, such as a product cutout, a portrait with the background removed or a rendered 3D object, PNG files are huge. A 2000 × 2000 pixel product cutout can easily be 3–6 MB as PNG.
WebP offers two ways to shrink that. Lossless WebP keeps every pixel, and Google reports it is about 26% smaller than PNG on average. Lossy WebP with transparency, which compresses the color while keeping the alpha channel crisp, is far smaller; Google's documentation describes lossy WebP with alpha as often around a third of the size of the equivalent PNG, and photographic cutouts commonly shrink much further. Flat logos and icons gain less, because PNG already compresses flat color well.
Typical size relative to the source PNG
When PNG to WebP makes sense, and when it doesn't
Convert PNG to WebP when the images are going onto a website you control and file size matters: storefront cutouts, hero illustrations, blog screenshots, team photos with removed backgrounds and decorative graphics. Every current version of Chrome, Safari, Firefox and Edge displays WebP with transparency.
Keep PNG when the file is going into a design tool, a document, a print job, an app icon set or a platform that does not accept WebP. Keep it, too, for working files you will edit again. And for vector logos, an SVG is usually the best web format of all; if you need raster copies of SVG artwork, the SVG to PNG guide covers resolution choices.
If a PNG has no transparency at all and is a photograph, consider JPG or lossy WebP without worrying about alpha, since the transparent channel adds nothing.
WebP
For your website
- Keeps transparency at a much smaller size
- Supported by all current major browsers
- Lossy mode ideal for photographic cutouts
PNG
For editing and hand-off
- Lossless master for further edits
- Accepted by design, office and print tools
- Best for pixel-exact UI and small text
Verdict: Deliver WebP on your site, keep PNG as the master.
Can you convert PNG to WebP with Preview or Terminal?
Not with Apple's built-in tools. macOS has been able to read WebP since Big Sur (11), but the system image framework used by Preview, Finder's Convert Image Quick Action, Shortcuts and the sips command has no WebP encoder. Preview's Export menu offers PNG, JPEG, HEIC, TIFF and PDF, and Finder's Quick Action offers JPEG, PNG and HEIF, so there is no built-in way to save WebP.
Terminal users can install Google's free cwebp encoder with Homebrew (brew install webp). The command cwebp -q 88 -alpha_q 100 logo.png -o logo.webp converts one PNG with lossy color and full-quality alpha, and cwebp -lossless logo.png -o logo.webp keeps every pixel. Folders need a shell loop, and there is no visual preview of edges, so it suits developers more than design or e-commerce teams.
Batch convert PNG to WebP in Operimage
Operimage's Convert tool handles PNG to WebP for single files and whole folder trees. Select Convert in the sidebar, drop the PNG folder on the window and choose WebP as the output format. Set the quality slider by asset type: about 88% for cutouts and logos is a safe start.
Before converting, click two or three demanding images in the list. Good test cases are a cutout with hair or fur, a logo with thin lines, and a screenshot with small text. Compare Before and After at full size. When they look right, click Convert. Operimage keeps the folder structure, keeps transparency, leaves the PNGs untouched and opens the result with Reveal output.
If your cutouts do not exist yet, Operimage's Remove background tool creates them on-device and can export transparent PNG or WebP directly; the offline background removal guide covers quality modes and edge detail.
What quality setting should you use for transparent PNGs?
Quality affects the color data around and inside the subject; the alpha channel that defines what is transparent is handled separately. The visible risk is at the boundary, where semi-transparent pixels blend the subject with the background. Too much compression there shows up as a faint halo, a dark fringe or jagged hair.
Pick the setting by asset type, then confirm in preview. For a catalog with mixed assets, split the folder and run two batches rather than forcing one setting on everything.
A useful rule: if you have to zoom to 200% to find a difference between Before and After, the setting is fine for the web. If you can see a fringe at 100% on your site's real background color, raise quality by five points and test again. Once settled, save the settings as an Operimage Workflow so every future batch of cutouts uses the same values.
- Product cutouts and portraits with removed backgrounds: 85–90%.
- Logos and icons with thin lines: 90%, or keep PNG if any fringe appears.
- Screenshots and UI with small text: 90%+, or keep PNG for pixel-exact text.
- Illustrations and decorative graphics: 80–85%.
- Photographic PNGs with no transparency: 75–82%, like any photo.
Checking edges and halos before a full run
Edges are where PNG to WebP conversions fail, and they are easy to miss on a white preview background. A cutout that looks perfect on white can show a light halo on a dark page, and the reverse. Check each test image against both, ideally the actual background colors of your site.
Lossy WebP stores color at half resolution horizontally and vertically (4:2:0 chroma subsampling). For photos this is invisible, but saturated red or blue text and one-pixel colored lines in screenshots can look soft. If that happens, raise quality, or keep those specific files as PNG.
Edge check for transparent WebP
- Hair, fur and soft edges have no halo on a dark background
- Logo edges have no gray or white fringe on a colored background
- Small colored text in screenshots is still crisp
- Drop shadows and semi-transparent glows still fade smoothly
- File size is clearly smaller than the PNG
- Transparent areas are still transparent, not white
Where to use the converted WebP files
Your own website is the main destination. WordPress has accepted WebP uploads since version 5.8 when the server supports it, and most site builders and storefronts accept WebP today. Product pages benefit the most, because they often show many cutouts at once; the e-commerce image optimization hub covers dimensions, naming and compression for store catalogs.
Marketplaces are a different case. Many specify JPEG or PNG for listing images and may require a pure white background rather than transparency, so check each platform's current image requirements before converting those files. When in doubt, keep a PNG export for marketplaces and use WebP on your own pages.
Should you use AVIF instead of WebP for transparent images?
AVIF also supports transparency and often compresses photographic content further than WebP, and it can store full-resolution color, which helps colored text. The trade-offs are slower encoding and less consistent support in upload forms and editing tools. For most stores and blogs, WebP is the simpler default. If you want to test AVIF on your heaviest transparent assets, the transparent AVIF guide walks through the same checks for that format.
If you only need smaller PNGs and must stay in PNG, a compression tool can reduce PNG size without changing format, though the savings are smaller than switching to WebP; see compressing images on Mac without losing quality.
Troubleshooting PNG to WebP conversions
Most problems with transparent WebP files trace back to a handful of causes.
- Background turned white or black: the target was JPG rather than WebP, or the destination app does not display WebP alpha. Re-check the output format and test in a browser.
- WebP is barely smaller than the PNG: the source is a flat logo or icon that PNG already compresses well. Keep PNG or SVG for those.
- Halo around hair or fur: quality is too low, or the cutout itself has a fringe from the original background. Raise quality, or refine the cutout first.
- Colors look washed out on the site: the PNG was saved in Display P3 or another wide-gamut profile. Convert it to sRGB before exporting for the web.
- Huge pixel dimensions: a 6000-pixel PNG stays heavy in any format. Resize to the largest displayed size before converting.
Step by step
Open Convert and add the PNGs
In Operimage, choose Convert in the sidebar and drop PNG files on the window, or click Folder to load a directory with its subfolders.
Choose WebP as the output
Select WebP from the output formats. Transparent areas in the PNGs are carried into the WebP files.
Set quality by asset type
Use 85–90% for cutouts, logos and screenshots, and about 80% for photo-like PNGs without fine edges.
Inspect edges in Before/After
Click a cutout with hair or soft edges and a logo with thin lines, and compare Before and After at full size.
Convert and check in Finder
Click the round Convert button, then Reveal output to open the WebP files. The PNG originals are left untouched.
PNG to WebP methods on Mac
| Method | Writes WebP | Keeps transparency | Batch | Privacy |
|---|---|---|---|---|
| Preview / Finder / sips | No | Not applicable | Not applicable | Local |
| cwebp (Terminal) | Yes | Yes | With a shell loop | Local |
| Online converter | Yes | Usually | Often limited | Files uploaded |
| Operimage | Yes | Yes | Folders and subfolders | Local, nothing uploaded |
FAQ
Does WebP support transparency like PNG?
Yes. WebP supports an alpha channel in both lossless and lossy modes, so transparent backgrounds are kept when you convert from PNG.
How do I convert PNG to WebP on Mac?
Use a converter with a WebP encoder, because Preview cannot save WebP. In Operimage, choose Convert, add the PNGs, select WebP, set quality to 85–90% for cutouts and click Convert.
How much smaller is WebP than PNG?
Lossless WebP is about 26% smaller than PNG on average, according to Google. Lossy WebP with transparency is often around a third of the PNG size, and photographic cutouts can shrink even more.
Why does my converted WebP have a halo around the edges?
Lossy compression changed the semi-transparent pixels at the edge. Raise the quality to 88–90%, or keep that file as PNG if the halo remains.
Should I use lossless or lossy WebP for PNG files?
Use lossy WebP at high quality for photographic cutouts, where it saves the most. Lossless WebP suits flat graphics and screenshots where every pixel must stay exact.
Can I convert screenshots from PNG to WebP?
Yes, but small colored text can soften in lossy WebP. Use 90% quality or higher and check the text at 100% zoom, or keep the PNG.
Is it safe to delete the PNG originals?
Keep them. PNG is the lossless master you can edit and re-export, while WebP is a delivery copy that some tools and platforms still cannot open.